Position:
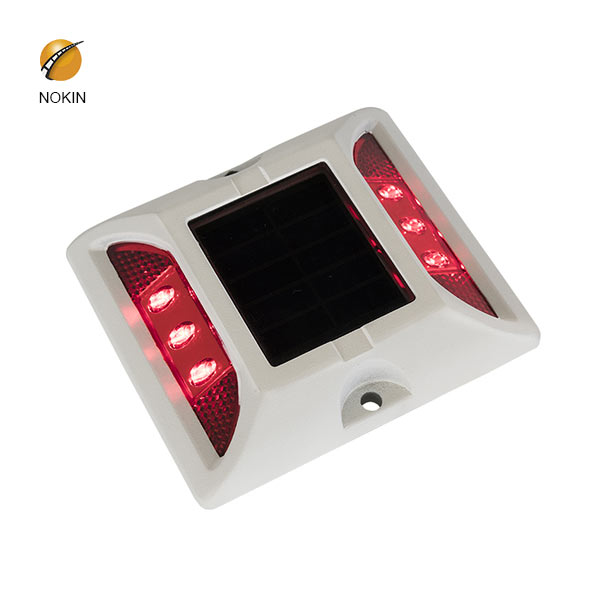
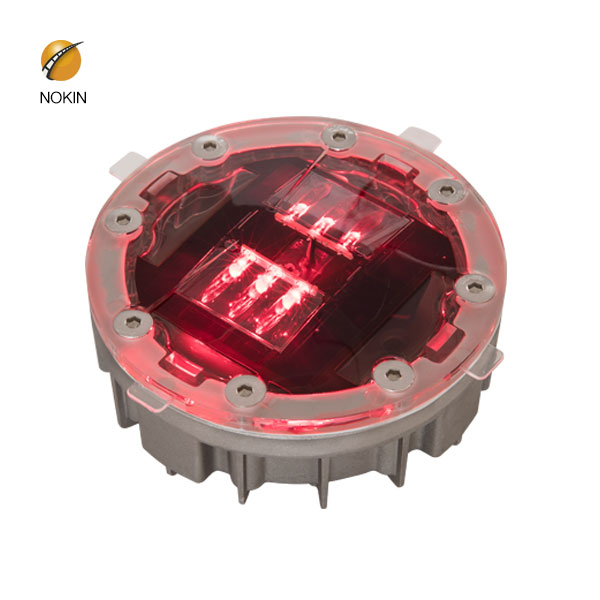
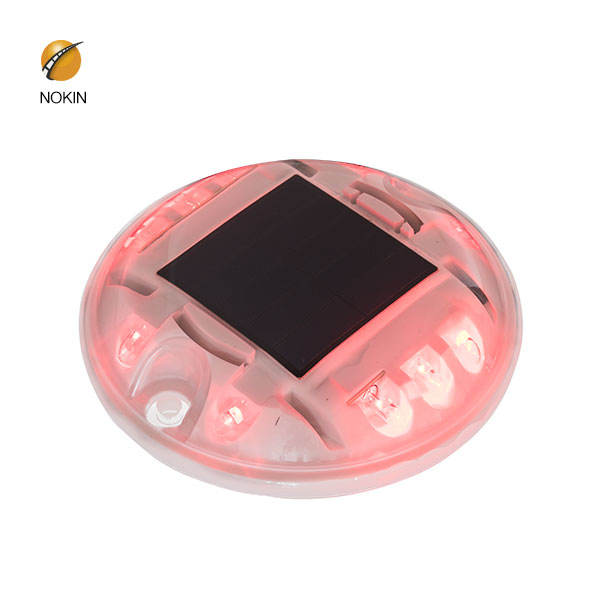
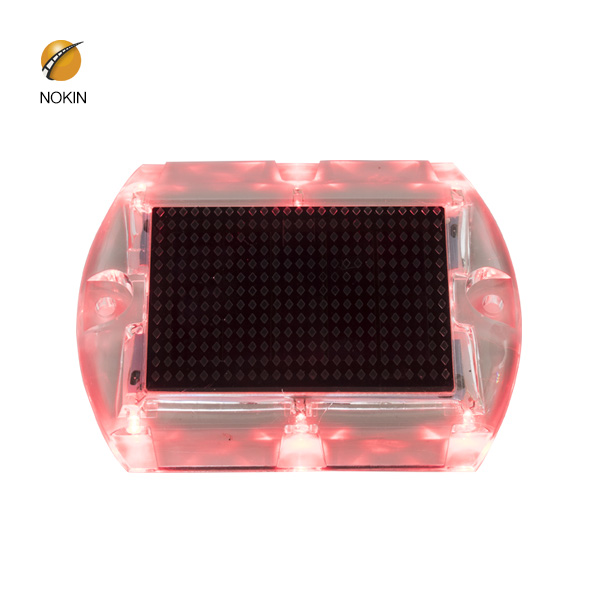
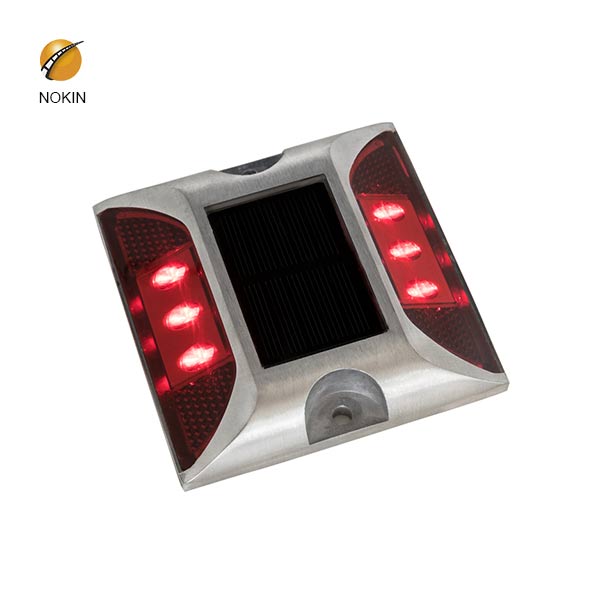
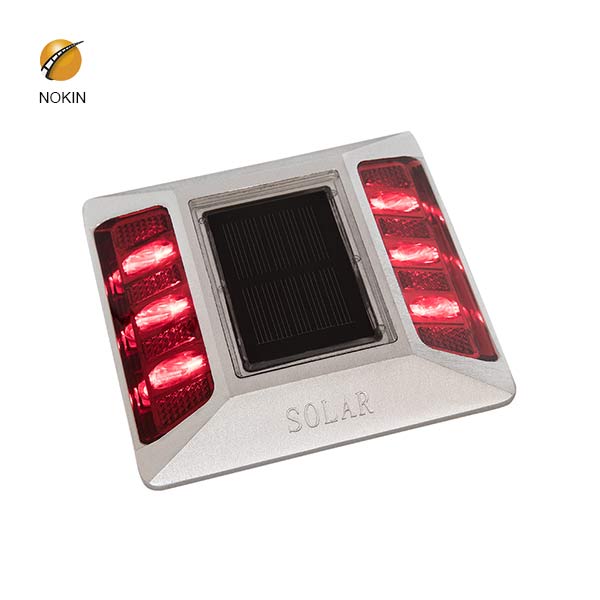
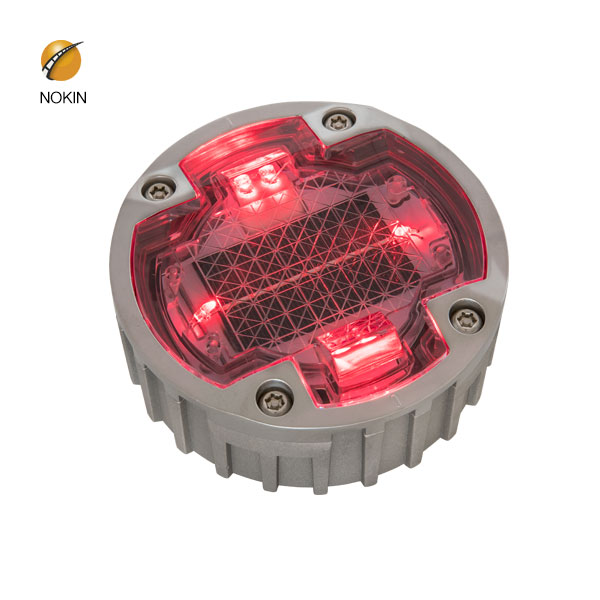
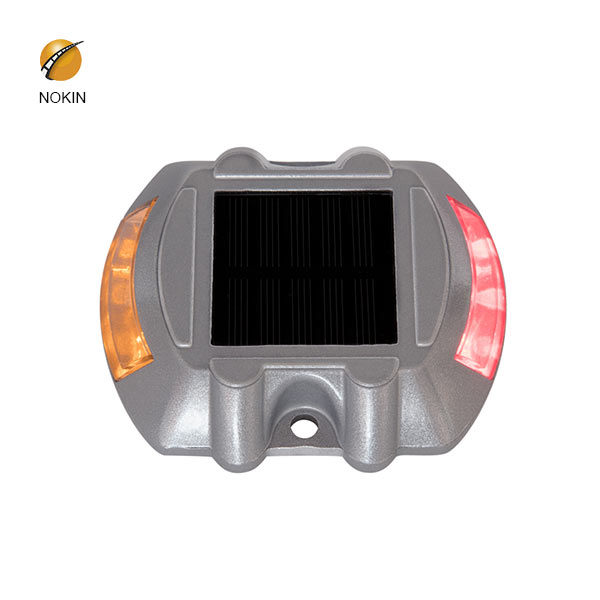
Hot LED Road Stud Light
We provide you with quality solar led road stud lights and services
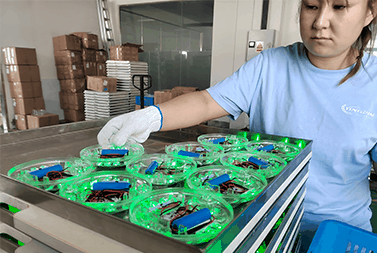
Quality Control
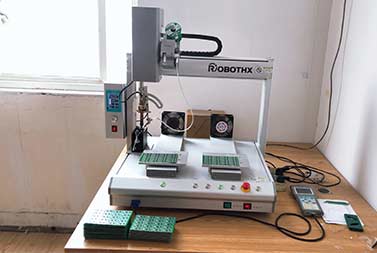

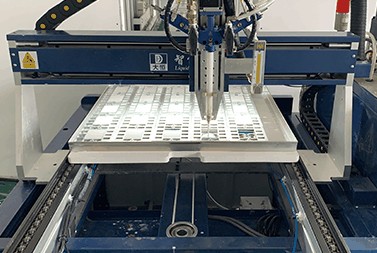
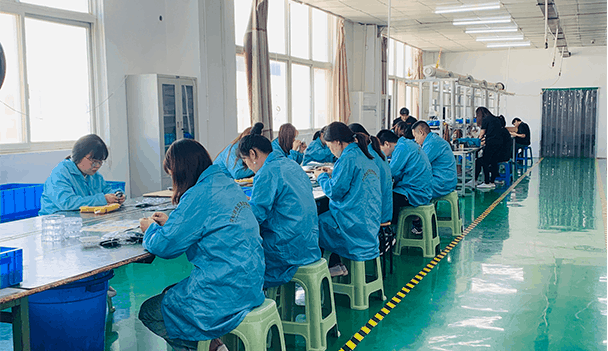
Production Workshop
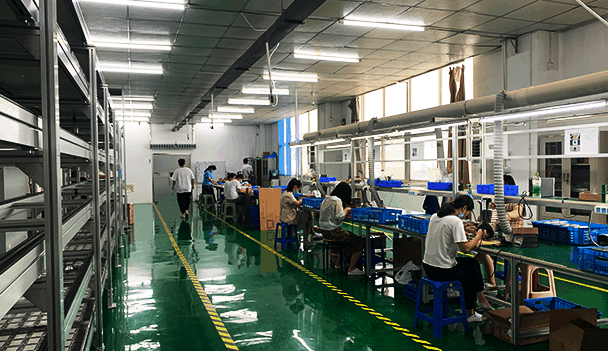
Production Workshop-1
Production Workshop-2
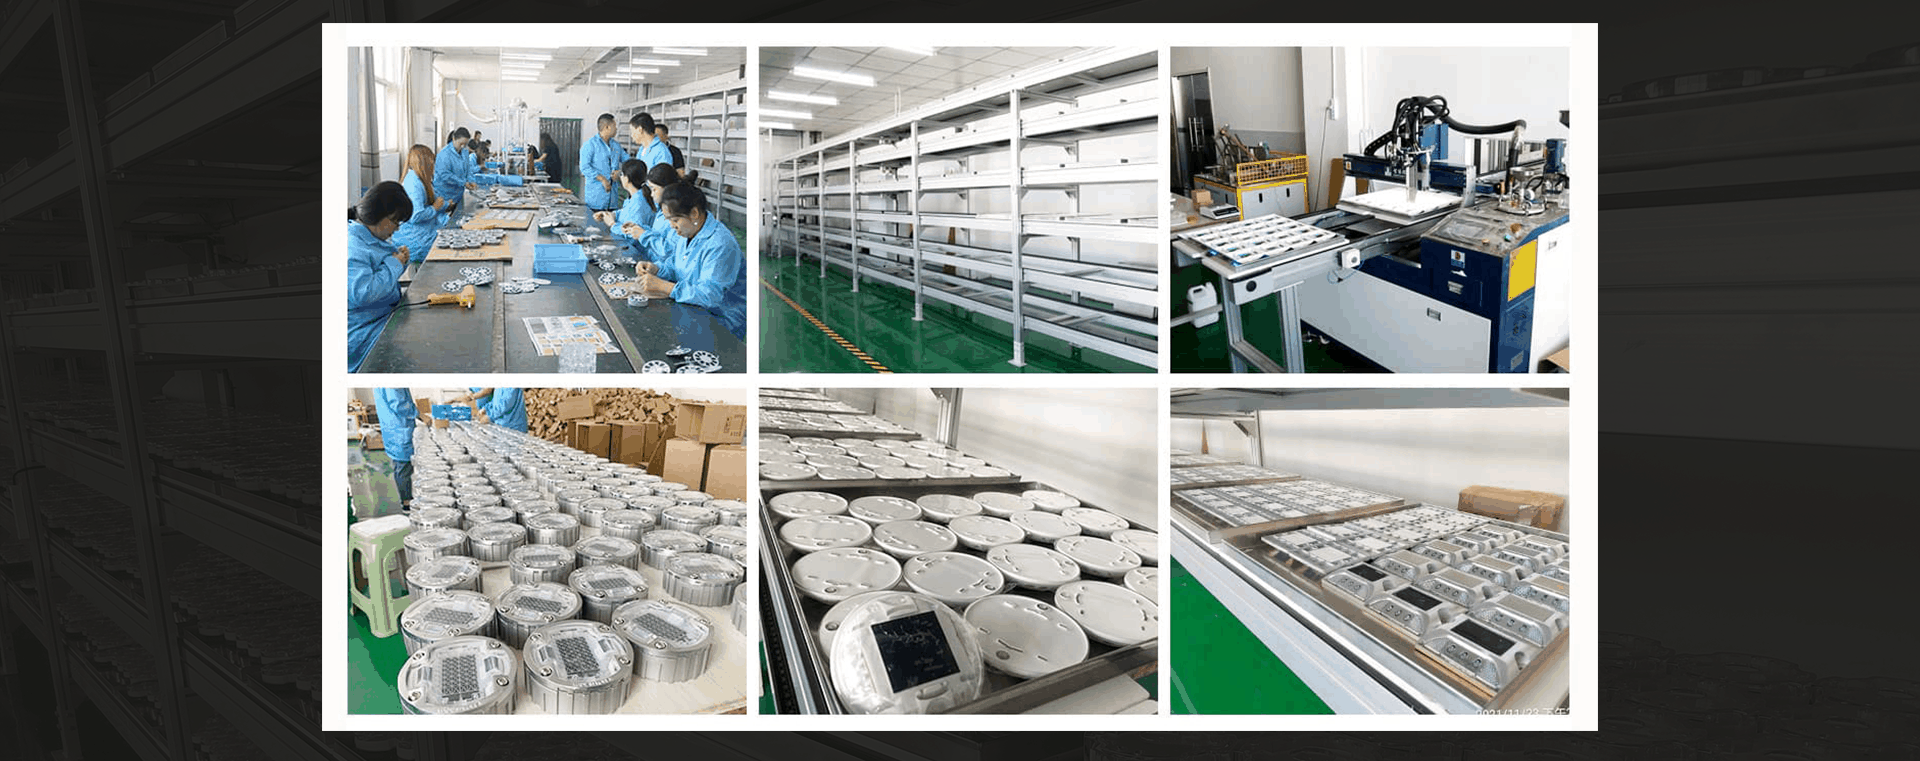
Shenzhen Nokin Traffic Facilities Co., Ltd. production plant covers an area of 800 square meters and has a complete production line. The production line has a professional technical team with strong strength and comprehensive management level. Years of rich production technical force and quality control experience have a high guarantee for stable led road stud light quality and high pass rate..
- Standardized Production Workshop.
- Advanced Production Equipment
- Standardized Team Managementp
Inquiry
.jpg)
.jpg)
.jpg)
.jpg)
.jpg)
.jpg)
.jpg)
.jpg)
.jpg)
.jpg)
.jpg)
.jpg)
.jpg)
.jpg)
Inquiry
